

How to Iron a Shirt: An Easy Guide for a Crisp Look
Quick answer: how to iron a shirt
Yes, you can iron a shirt in about 10 minutes, and it is easy once you know the right order. To learn how to iron a shirt the easy way, start with the collar, then iron the cuffs, sleeves, back, and front, and use steam for cotton shirts. The full guide below shows you how to iron a shirt step by step, so your shirt looks crisp with no shine or scorch marks.
What Is Ironing and Why Do It?
Ironing is the simple job of pressing a shirt with a hot iron to smooth out wrinkles. When you learn how to iron a shirt the right way, your shirt looks neat and fresh all day. Ironing is a basic life skill, and once you learn how to iron clothes, every shirt in your closet looks better. A crisp shirt makes a good first impression at work, at school, or at a family event. That is why it pays to learn how to iron a shirt before a big day. For more easy clothing guides, browse our Clothing & Style tips.
What Do You Need?
You do not need fancy tools to learn how to iron a shirt. Here is the full list.
- A steam iron
- An ironing board
- Clean water for the steam tank
- A spray bottle for stubborn wrinkles
- A hanger for the finished shirt
- A clean shirt, washed and dry
How to Iron a Shirt in 7 Easy Steps

This is the full method for how to iron a shirt at home. Read the steps once, then start.
Step 1: Set Up Your Ironing Board and Iron
Set up the ironing board on a flat, steady surface near an outlet. Fill the iron with clean water if it has a steam tank, then plug it in and set the heat for your shirt fabric. Wait for the ready light before you start. Setting up first is the first step in how to iron a shirt safely.
Step 2: Iron the Collar First
Lay the collar flat on the board with the inside facing up. Press the iron over the collar from the points toward the middle, then flip it and press the other side. Ironing the collar first is a key part of how to iron a shirt well, because a neat collar frames your whole look.
Step 3: Iron the Cuffs
Unbutton the cuffs and lay each one flat on the board. Press the inside first, then the outside, and smooth the fold with the tip of the iron. Flat cuffs are a small detail that shows you know how to iron a shirt well.
Step 4: Iron the Sleeves
Lay one sleeve flat with the seam at the edge and press from the cuff to the shoulder. Flip the sleeve and press the other side, then do the same for the second sleeve. Press and lift the iron on thin fabric, and do not drag it, so you do not make new creases. Smooth sleeves are part of how to iron a shirt so it looks crisp.
Step 5: Iron the Back of the Shirt
Spread the back of the shirt flat on the board and press it in smooth strokes from the top to the bottom. Move the shirt as you go so you cover the whole back. Use steam for cotton shirts to relax deep wrinkles. This wide, flat area is the easiest part of how to iron a shirt, and it gives you the most smooth fabric for your time.
Step 6: Iron the Front
Iron each front panel, starting with the side that has the buttons. Work around the buttons, not over them, and use the tip of the iron to press the small spaces between them. Then iron the other front panel. This step is where how to iron a shirt shows its result, because the front is what people see first.
Step 7: Hang the Shirt Right Away
Hang the shirt on a hanger as soon as you finish, button the top button, and let it cool for a few minutes. Hanging it right away keeps it smooth and stops new wrinkles from forming. These small steps are the last step in how to iron a shirt from start to finish.
Iron Settings by Fabric
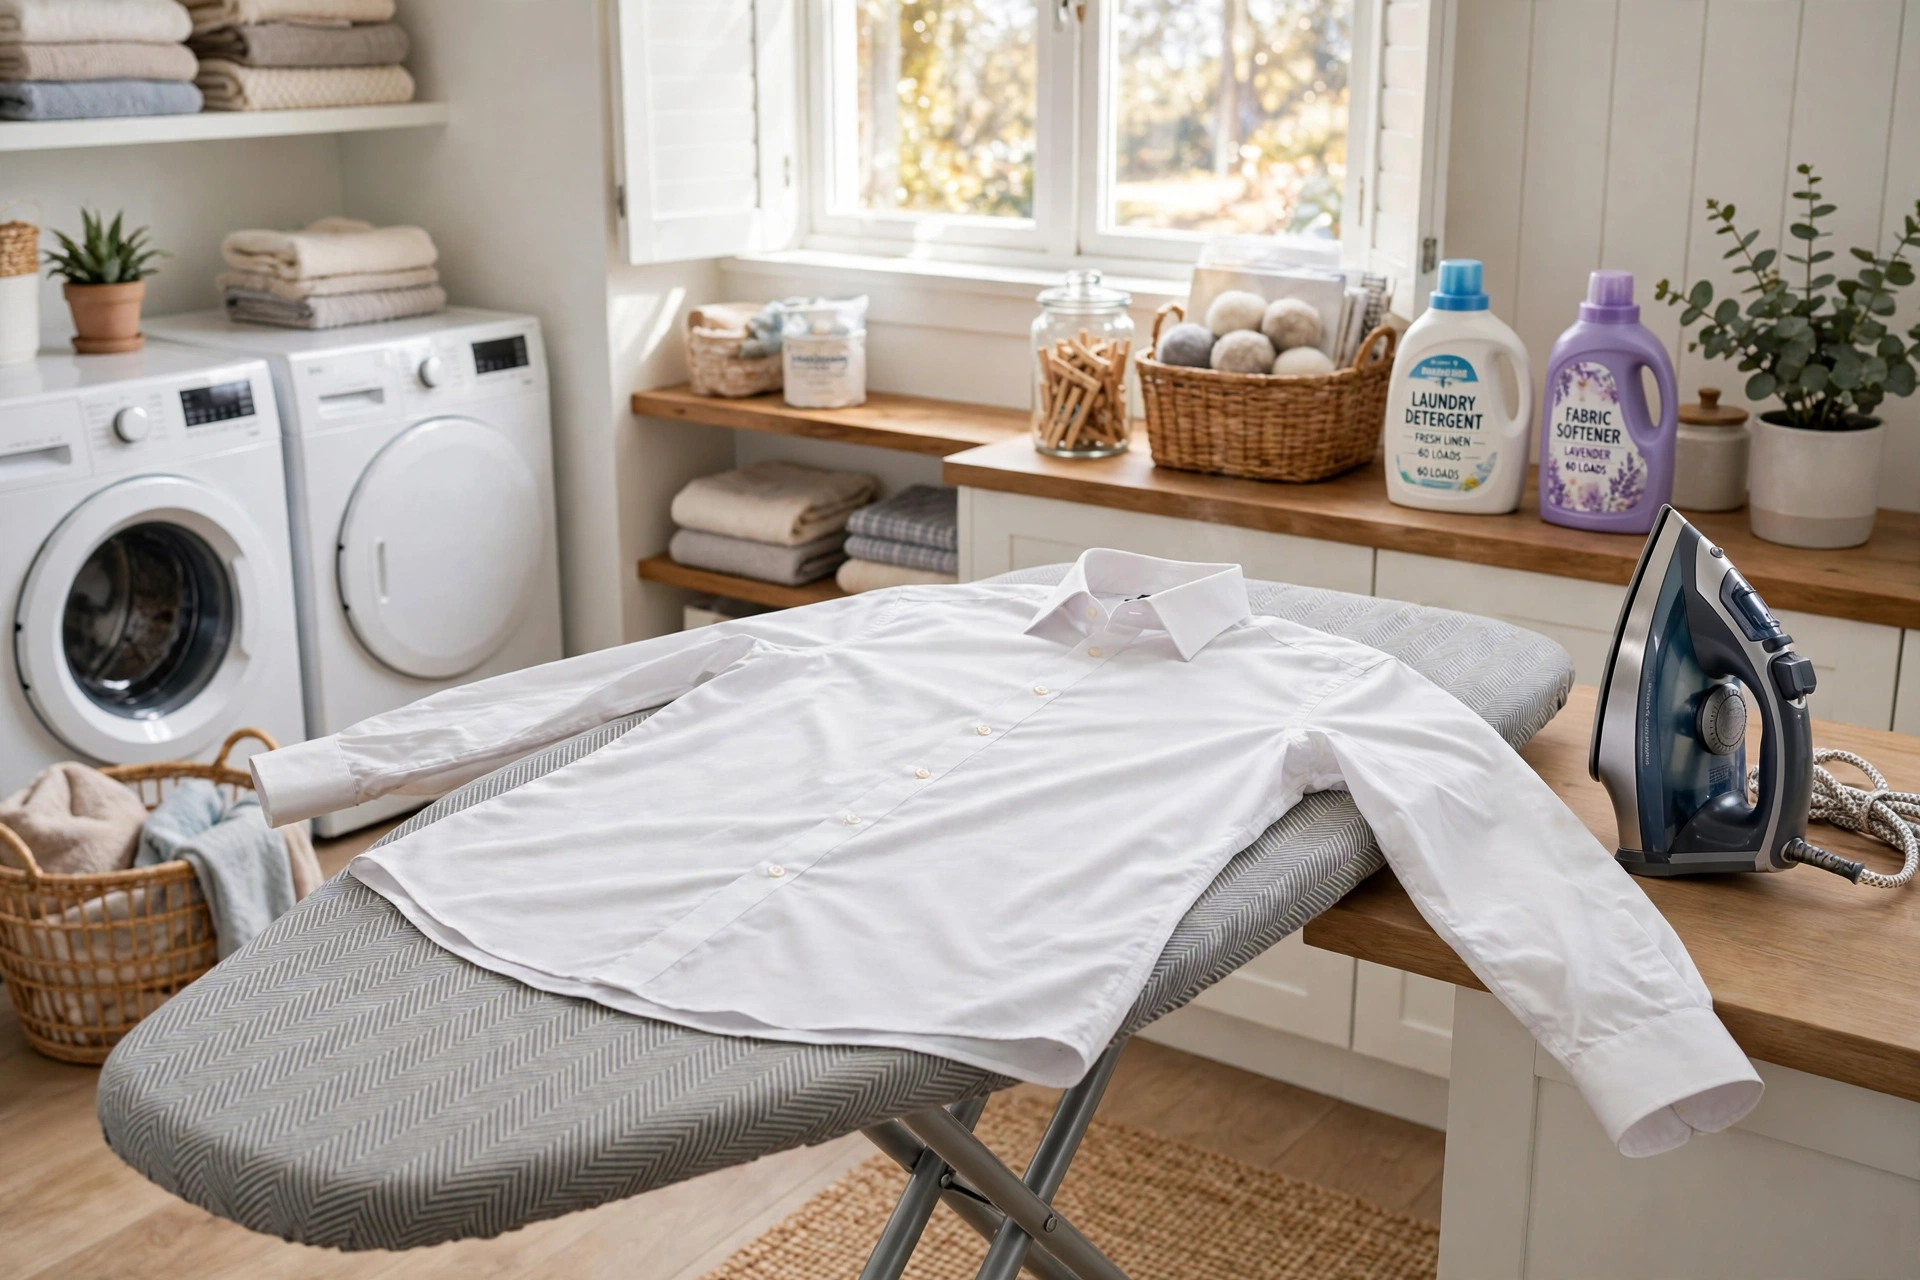
Different fabrics need different heat. Here is how to iron a shirt for each common fabric.
- Cotton: high heat, steam on
- Linen: high heat, steam on, press while a little damp
- Polyester: low to medium heat, light steam or no steam
- Silk: low heat, press and lift, use a cloth between the iron and the silk
- Wool: medium heat, press and lift, use steam
If you are not sure about the fabric, check the label inside the shirt. It tells you the fabric and the safe heat. That label is your best guide when you learn how to iron a shirt made of a new fabric. For a second opinion on heat settings, see Good Housekeeping’s guide to ironing a shirt.
How to Iron a Dress Shirt
A dress shirt is the classic shirt for work and formal days, and the steps are the same, with a few extra tips. Use high heat with steam for a cotton dress shirt, and press the collar and cuffs well, because they show the most. Iron the placket, the strip with the buttons, with the tip of the iron. That is how to iron a dress shirt so it looks sharp all day.
For a white dress shirt, make sure the iron plate is clean before you start, so no dirt marks the white fabric. A clean iron is part of how to iron a dress shirt without stains. Pair your crisp shirt with shiny shoes, and read our guide on how to polish shoes to finish the look.
How to Iron a Business Shirt
A business shirt is much like a dress shirt, and the same method works. The key is a smooth collar and flat cuffs, because those are what people notice in a meeting. Iron the shirt the night before work and hang it up, so your morning is easy. That is how to iron a business shirt for a calm start to the day.
How to Iron a Button Up Shirt
A button up shirt has buttons down the front, and the trick is to work around them. Unbutton the shirt fully and lay it flat. Iron each front panel with the tip of the iron, and press the small spaces between the buttons. Do not press the iron over the buttons, or they can melt or crack. That is how to iron a button up shirt without harming the buttons.
How to Unwrinkle a Shirt Without an Iron

No iron? No problem. Here is how to unwrinkle a shirt without an iron using three easy tricks.
- Hang it in a steamy bathroom: hang the shirt on the bathroom door, run a hot shower for 10 minutes, and let the steam relax the wrinkles.
- Toss it in the dryer: put the shirt in the dryer with a damp towel and run it on medium heat for 10 minutes, then hang it right away.
- Use wrinkle release spray: spray the shirt lightly, smooth it with your hands, and hang it to dry.
These tricks work best on light wrinkles. For deep wrinkles, an iron is still the best tool, but these tricks save the day when you have no iron. That is how to unwrinkle a shirt without an iron when you are in a hurry.
What to Use and What to Avoid
The right tools make ironing easy. Here is what to use and what to avoid.
Use: – A steam iron, for cotton and linen shirts – An ironing board, for a flat, steady surface – Clean water in the steam tank, so no marks form – A spray bottle, to dampen stubborn wrinkles – A hanger, to hang the shirt right after ironing
Avoid: – Ironing a dirty shirt, which can set stains – High heat on silk or polyester, which can scorch or shine – Pressing over buttons, which can melt or crack them – Leaving the iron face down on the board, which can burn it – Skipping the hang step, which lets wrinkles come back
If you are not sure about the heat, test a small hidden spot first, like the inside of the hem. That test is a smart step in how to iron a shirt safely. Delicate fabrics need the same care as silk, so read our guide on how to wash silk before you clean a silk shirt.
Mistakes to Avoid When You Iron a Shirt
Many people make these mistakes when they learn how to iron a shirt. Avoid them and your shirt will look crisp.
- Starting with the front instead of the collar
- Using high heat on delicate fabric
- Dragging the iron on silk or wool
- Ironing over buttons
- Forgetting to hang the shirt right away
- Using dirty water in the steam tank
How to Iron a Shirt: Quick Checklist
Use this checklist every time you iron a shirt.
- Check the label for fabric and heat.
- Set up the board and fill the iron with clean water.
- Set the heat for your fabric and wait for the ready light.
- Iron the collar, then the cuffs, then the sleeves.
- Iron the back, then the front, around the buttons.
- Use steam for cotton and linen.
- Hang the shirt right away and let it cool.
Follow this list each time and you will know how to iron a shirt without thinking twice.
Frequently Asked Questions
How long does it take to iron a shirt?
About 10 minutes once you know how to iron a shirt. A dress shirt may take a few minutes more because of the collar and cuffs.
How hot should the iron be for a cotton shirt?
Use high heat with steam for cotton. Cotton can take the heat, and steam helps smooth deep wrinkles.
How do I iron a dress shirt without shine marks?
Use the right heat for the fabric, press and lift on dark fabric, and do not press too hard in one spot. A clean iron plate also helps.
Can I iron a shirt without an ironing board?
Yes, you can use a clean towel on a flat table, but an ironing board is safer and easier because it holds the shirt flat and keeps the heat away from the table.
How do I iron a button up shirt with buttons?
Work around the buttons with the tip of the iron and press the small spaces between them. Do not press the iron over the buttons.
How do you iron clothes without an iron?
Hang the shirt in a steamy bathroom, toss it in the dryer with a damp towel for 10 minutes, or use wrinkle release spray and smooth it by hand. For more laundry help, see our guides on how to wash wool blanket and how to wash pillows.
Should I iron a shirt inside out?
For dark or delicate shirts, ironing inside out can stop shine marks. For cotton shirts, iron the outside for the crispest look. If you want a neat bed to match your neat shirt, read our guide on what is a duvet cover.
Related Guides You May Like
If you liked this guide, try these easy guides from Daily Life Hacks. Learn how to polish shoes to shine your shoes, see how to wash silk to care for silk clothes, read how to wash wool blanket to keep blankets soft, check how to wash pillows for fresh pillows, and see what is a duvet cover to learn about bedding. Also read how to fix printer streaks, how to clean a blender, and how to reduce ping. Also read how to make tea, how to remove a splinter, how to clean a hairbrush, and my wife is yelling at me. Also read how many miles is a 5k. You can also browse all our Clothing & Style tips for more simple guides.
Final Thoughts
Learning how to iron a shirt is easy once you know the golden rule: collar first, then cuffs, sleeves, back, and front. Use the right heat for the fabric, steam for cotton and linen, and press and lift on delicate fabric. Now that you know how to iron a shirt the easy way, your shirts will look crisp with no shine or scorch marks. Just remember how to iron a shirt: hang the shirt right away, work around the buttons, and test a hidden spot when you are not sure about the heat. Those three rules are the heart of how to iron a shirt.
About the author
Emma Carter is the founder of Daily Life Hacks. She is a mom of four and a tech lover who makes everyday life simpler with easy guides. More from Emma Carter


6 Comments